3D printing in resin: tips and tricks for a perfect finish
Share
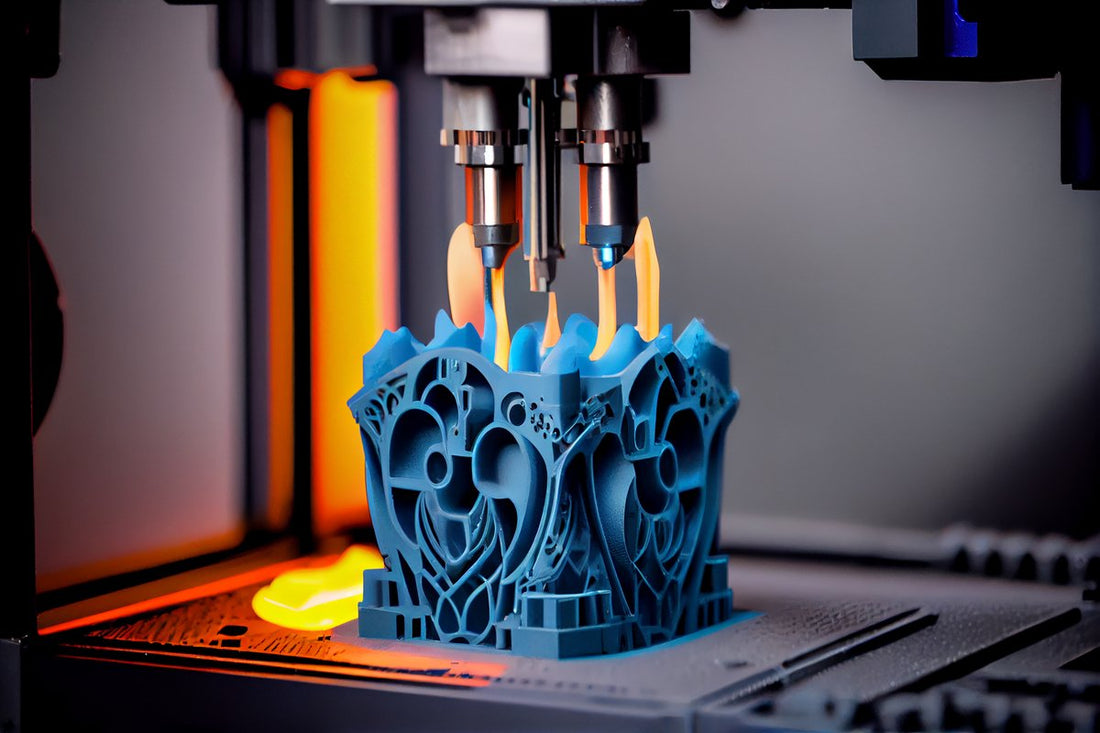
Resin 3D printing offers much more detailed results and smooth finishes compared to FDM (filament) printing, making it an ideal choice for projects requiring high precision, such as miniatures, jewelry, or detailed prototypes. However, resin printing has its challenges and requires a somewhat different approach. In this guide, we give you some key tips to get a perfect finish.
Types of 3D resin
There are several types of resin available for different applications and choosing the right one is essential to obtain good results:
- Standard resins : offer a balance between cost and quality, perfect for general models.
- High-strength resins : ideal for parts that require greater durability.
- Flexible Resins – Perfect for projects that require flexibility or impact resistance.
- Clear Resins : Suitable for parts where clarity and visual detail are important.
Tip: Research the resin specifications based on the type of project you are printing. Make sure to choose a resin that is compatible with your printer and meets the requirements of your 3D model.
3D model setup and accuracy
Resin printing offers high resolution, but to take full advantage of this capability, it is crucial to properly prepare your model:
- Level of Detail – Make sure your model has fine, precise details that are optimized for resin printing.
- Printer Resolution – Set your printer to the highest resolution possible to avoid visible lines in the final model.
Tip: Set your layers to around 0.05mm or less for an extremely smooth finish.
Correct use of 3D printing supports
Unlike FDM printing, resin 3D printing requires more precise use of supports to prevent warping and ensure the model is printed without defects. Here are some key tips:
- Well-distributed supports : Place supports in strategic locations on the model, especially in areas that protrude or slope. Supports should be strong enough to hold the model, but easy to remove without damaging the surface.
- Tilt Angles : When printing models with delicate details, slightly tilt the model on the platform to improve adhesion and reduce the risk of failure.
Tip: Use printing software tools that automatically generate optimal media, but manually check sensitive areas.
Post-curing of the 3D printed part
After printing the resin model , it must be cured under ultraviolet (UV) light to ensure that the part acquires its final hardness. Post-curing is crucial to prevent the model from becoming sticky or incomplete.
- UV Lamps : Use a UV lamp with the appropriate wavelength (usually between 405-420nm).
- Isopropyl Alcohol Baths : To remove any remaining liquid resin, soak the model in isopropyl alcohol for 2-5 minutes before exposing it to UV light.
Tip: Be careful with curing time. Too much UV light exposure can cause the resin to become brittle, so follow the resin manufacturer's recommendations.
Sanding and finishing of the 3D piece
Unlike FDM printing, resin printing has less visible layers, which requires less finishing work. Still, some details may need sanding or polishing to achieve a perfect finish:
- Sanding with fine-grit sandpaper : Start with 400 grit and go up to 1000 or higher for a smooth finish.
- Polishing : In the case of using transparent resin, proper polishing will allow the surface to be completely smooth and translucent.
Tip: Use a hand drill or rotary tool to sand small, hard-to-reach areas without damaging fine details.
Painting and final finishing of 3D printing
Painting is one of the most important parts of bringing resin printed models to life, especially if you work on miniatures or decorative pieces.
- Primer – Use a good quality spray primer to prepare the surface before painting. Primer helps the paint adhere better and bring out the details.
- Acrylic Paint – Acrylic paints work very well on resin as they adhere well and offer a wide range of colors.
Tip: Apply several thin coats of paint rather than one thick coat to prevent paint bleeding and to preserve model detail.
Cleaning the 3D printer
Regular cleaning of your 3D printer is essential to maintain print quality and prevent uncured resin from building up in the tank or on the LCD screen.
- Tank Cleaning : After every print, be sure to filter and clean any resin residue.
- LCD Screen : Keep the screen clean and free of resin residue to avoid precision issues in future prints.
Tip: Please wear gloves and a mask during the cleaning process, as liquid resin can be toxic upon direct contact.
Resin printing offers an unrivaled level of detail and quality when done correctly. By following these steps and paying attention to the small details, you can ensure that you get perfect prints every time. From resin selection to post-processing, each stage plays a crucial role in the final result. Experiment with different settings and techniques to hone your skill and achieve the finish you desire on your resin 3D printing projects .
If you are a company that needs a 3D design or modeling , or you are interested in printing a piece, do not hesitate to contact us and we will advise you in a personalized way. Bring your ideas and projects to life at Printatonic


